

I love having a homemade sweet treat in the fridge or freezer each week, and these Healthy No Bake Cherry Coconut Bars have quickly become one of my favourites. The tart dried cherries cut through the sweetness of the coconut and chocolate so beautifully, which makes them taste a lot more indulgent than they are. They are naturally gluten free, dairy free (just check your chocolate), egg free and nut free, and they keep for up to 3 months in the freezer, so they’re great for meal prepping too!
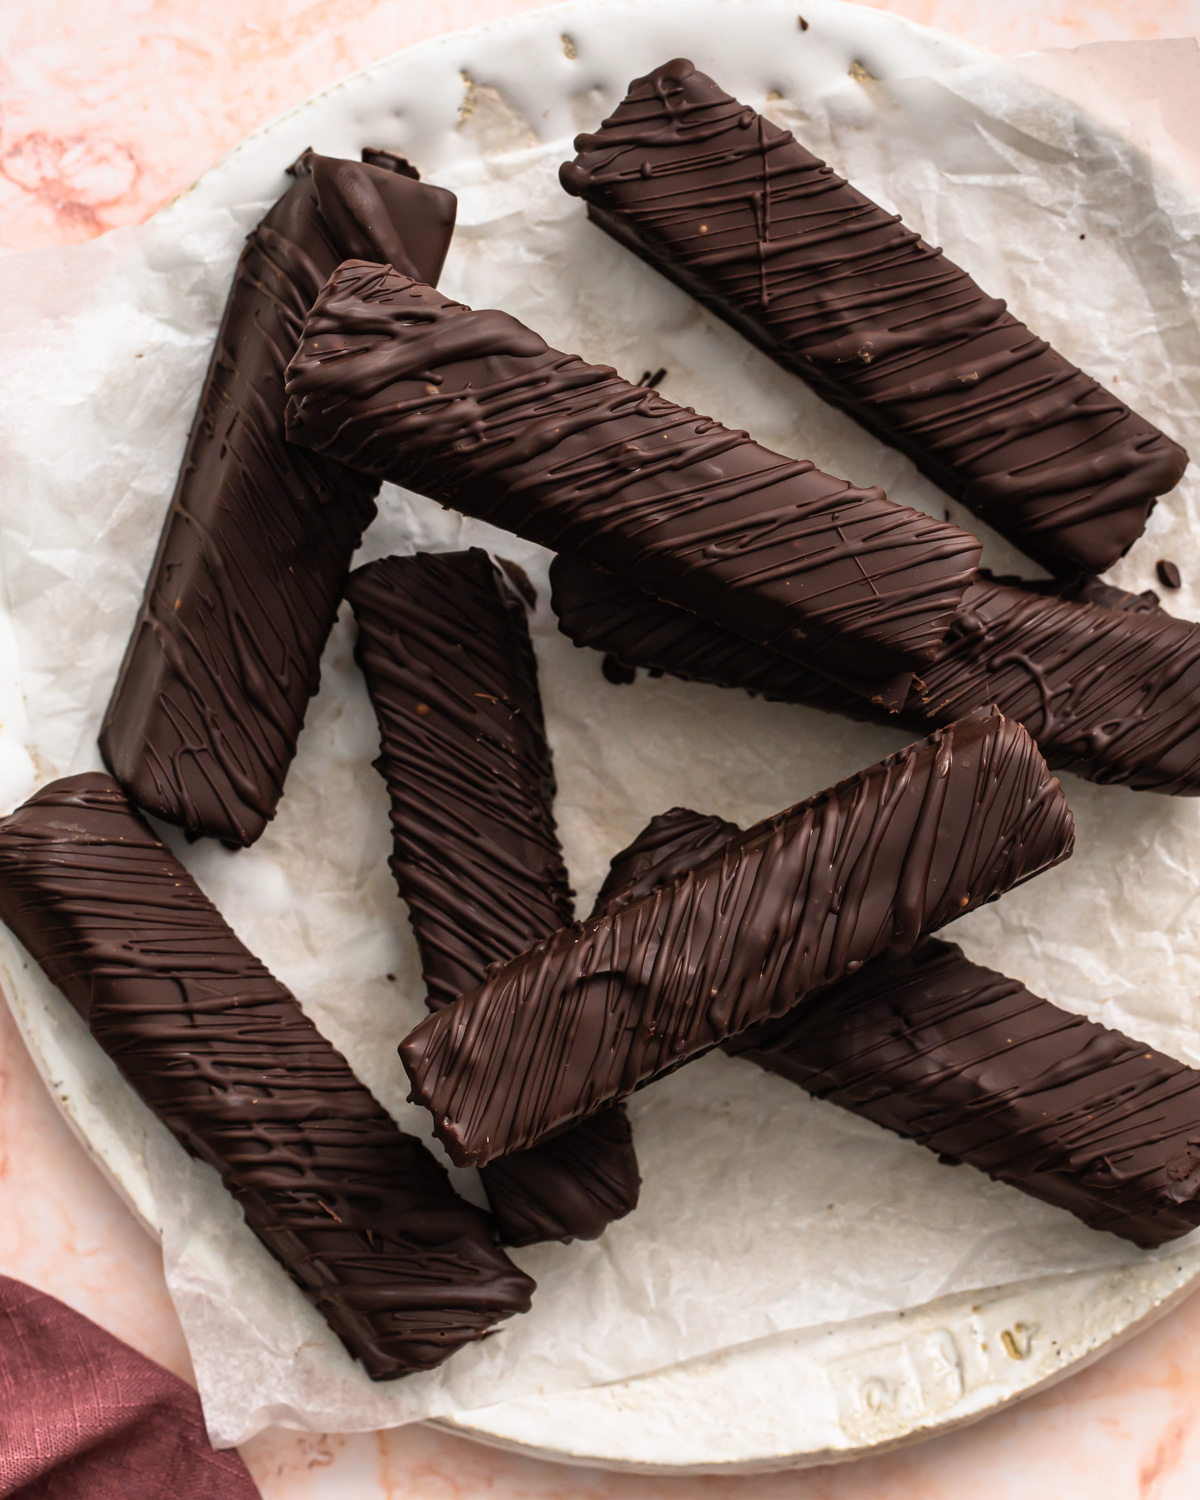
If you’ve made my Healthy Homemade Bounty Bars before, then think of these as their fruity cousin. I wanted to create a version with a little more tartness and colour, and dried cherries were the perfect fit. Cherry and coconut is such a classic combination, and paired with dark chocolate it tastes just like a classic cherry chocolate bar. Only this time it’s made with wholefood ingredients and no refined sugar!
No bake recipes are my go-to when I want something sweet without turning the oven on. If you love this cherry coconut bars recipe, you might also like my Dark Chocolate Almond Butter Cups, Raw Salted Caramel Choc Slice or Cranberry and Pistachio Homemade Chocolate.
Everything You Need to Make Cherry Coconut Bars
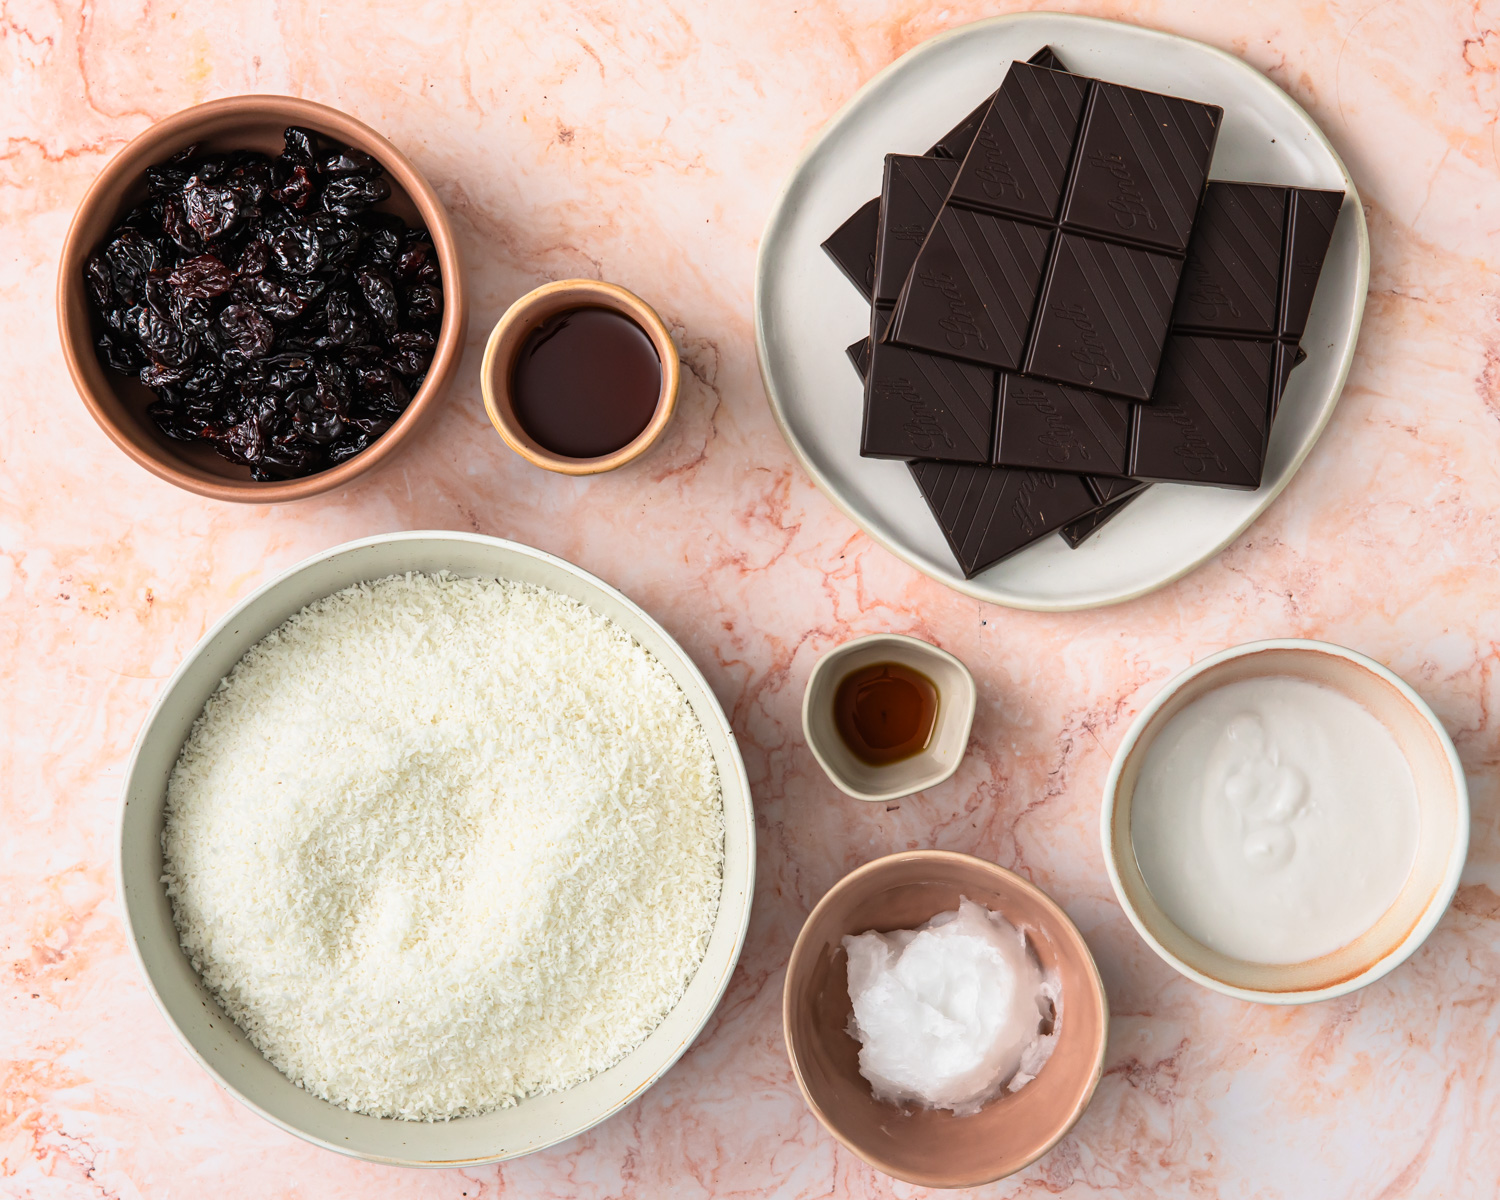
These no bake cherry coconut bars are made using just 7 simple ingredients! I’ve listed everything you will need below, along with any ingredient notes and possible swaps. You can find the ingredient quantities in the recipe card at the bottom of this post.
- desiccated coconut – desiccated coconut gives the filling that dense, bounty-like texture. You can use unsweetened shredded coconut instead, but blitz it for a little longer so it holds together.
- dried cherries – dried cherries give these bars their sweet-tart flavour and gorgeous pink colour. Look for unsweetened dried cherries if you can find them. Dried cranberries or chopped dried sour cherries also work well.
- vanilla extract – vanilla rounds out the flavour of the filling. For a cherry bakewell twist, swap it for ½ teaspoon almond extract.
- coconut milk – use full fat canned coconut milk for the creamiest filling. Coconut cream also works.
- coconut oil – coconut oil helps bind the filling together and lets it firm up in the freezer. You will also use a little to thin the chocolate if needed.
- pure maple syrup – always choose pure maple syrup and not maple flavoured syrup. Honey or rice malt syrup can be used instead.
- dark chocolate – I like to use a good quality dark chocolate with 70% cocoa or higher. Check the label if you need these coconut cherry bars to be dairy free. You will need 200 grams (about 7 ounces).
Optional Extras
These are completely optional, but a fun way to change things up.
- a pinch of flaky sea salt sprinkled over the chocolate before it sets
- freeze dried cherry or raspberry powder dusted over the top for extra colour
- a handful of chopped fresh or frozen cherries folded through the filling (these bars won’t keep quite as long)
- a drizzle of melted white chocolate instead of dark chocolate for the decoration
Tips for Making the Best Cherry Coconut Bars
These healthy cherry coconut bars are really simple to make, but there are a few tips and tricks to help you get the best results every time. You can find the full step-by-step instructions in the recipe card at the bottom of this post.
- line your tins first – line both the loaf tin and the baking tray with baking paper before you start. The paper makes it easy to lift the frozen filling out of the tin, and the coated bars won’t stick to the tray.
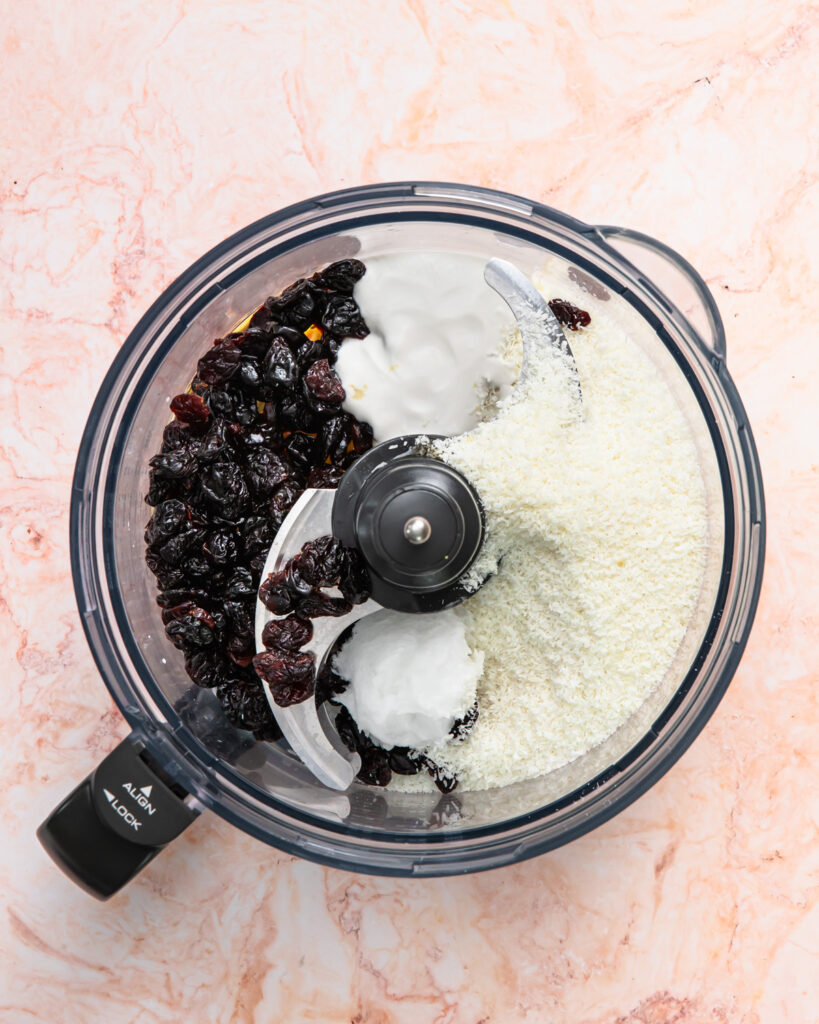
- process until it clumps – blitz the filling until the cherries are finely chopped and the mixture sticks together when you press it between your fingers. If it still seems crumbly, process for another 30 seconds.
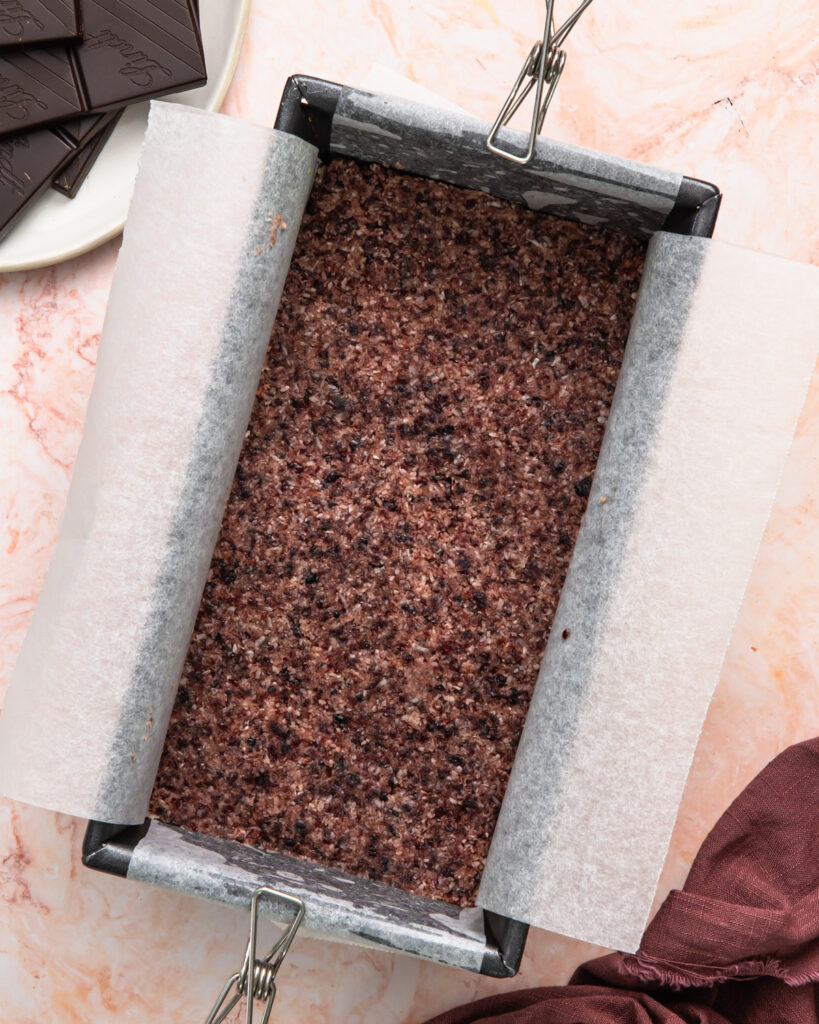
- press it down firmly – use the back of a spoon or a spatula to really compress the coconut layer into the tin. A firmly packed filling means your bars won’t crumble when you cut and dip them.
- don’t skip the freezer – the filling needs a full hour in the freezer. Frozen bars are much easier to slice cleanly and hold their shape when dipped in the warm chocolate.
- melt the chocolate gently – make sure the bottom of the heatproof bowl doesn’t touch the water, and keep stirring. If any water or steam gets into the chocolate it can seize and go grainy.
- use a fork to dip – rest each bar on a fork, dip the base, then spoon chocolate over the top. Hover it over the bowl for a few seconds so the excess drips off and you get a neat, thin coating.
- thin the chocolate if needed – if your chocolate starts to thicken, gently rewarm it or stir in a small amount of coconut oil so it’s runny again.
Storage
Bars: Store the chocolate coated bars in an airtight container in the fridge for up to 4 days, or in the freezer for up to 3 months. If freezing, place a sheet of baking paper between layers so they don’t stick together. Let them sit at room temperature for 5 to 10 minutes before eating.
Coconut filling: The filling can be made ahead and kept frozen in the lined loaf tin, wrapped well, for up to a week before slicing and dipping.
Leftover chocolate: Pour any leftover melted chocolate onto baking paper, let it set and break it into pieces. Store in an airtight container in the pantry and remelt for your next batch.
Healthy Cherry Coconut Bars
Equipment
- Food Processor
- Loaf Tin
- Sharp knife
- Chopping Board
- Saucepan
- Baking Tray
Ingredients
- 150 grams desiccated coconut, 2 cups
- 150 grams dried cherries, 1 cup
- 1 teaspoon vanilla extract
- 2 tablespoons coconut milk
- 2 tablespoons coconut oil
- 1 tablespoon pure maple syrup
- 200 grams dark chocolate
Instructions
- Line a loaf tin with baking paper and set aside. Line a baking tray with baking paper and set aside.
- Add the shredded coconut, dried cherries, vanilla extract, coconut milk, coconut oil and maple syrup to a food processor. Process on high until the mixture is well combined.
- Tip the coconut mixture out into the lined loaf tin. Using the back of a spoon or a spatula to spread the coconut mixture out into an even layer across the base of the loaf tin. Push down firmly to compress the coconut layer. Place into the freezer to set for one hour.
- Place a heat proof bowl atop a saucepan of water. Place the saucepan onto the stovetop and bring to a medium-high heat. Break up the chocolate and add to the bowl. Stir frequently as the chocolate melts. Once the chocolate is completely melted, turn off the heat.
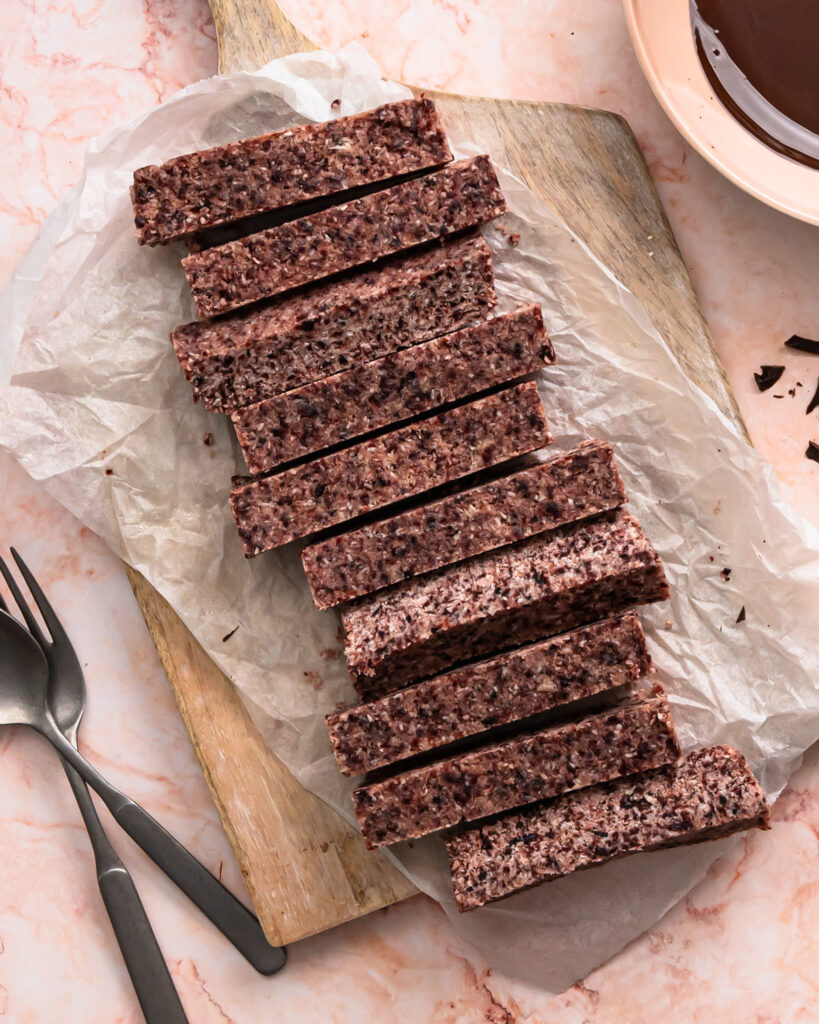
- Remove the tin from the freezer and remove the frozen filling from the tin. Using a sharp knife cut the frozen filling into 10 bars. Place one bar onto a fork and dip the bottom of the bar into the chocolate. Lift up the bar and use a spoon to drizzle melted chocolate over the bar until it is completely coated. Hover the chocolate coated bar above the melted chocolate to allow excess melted chocolate to drip back into the bowl. Transfer the chocolate to the lined baking tray. Repeat this process with the remaining bars.
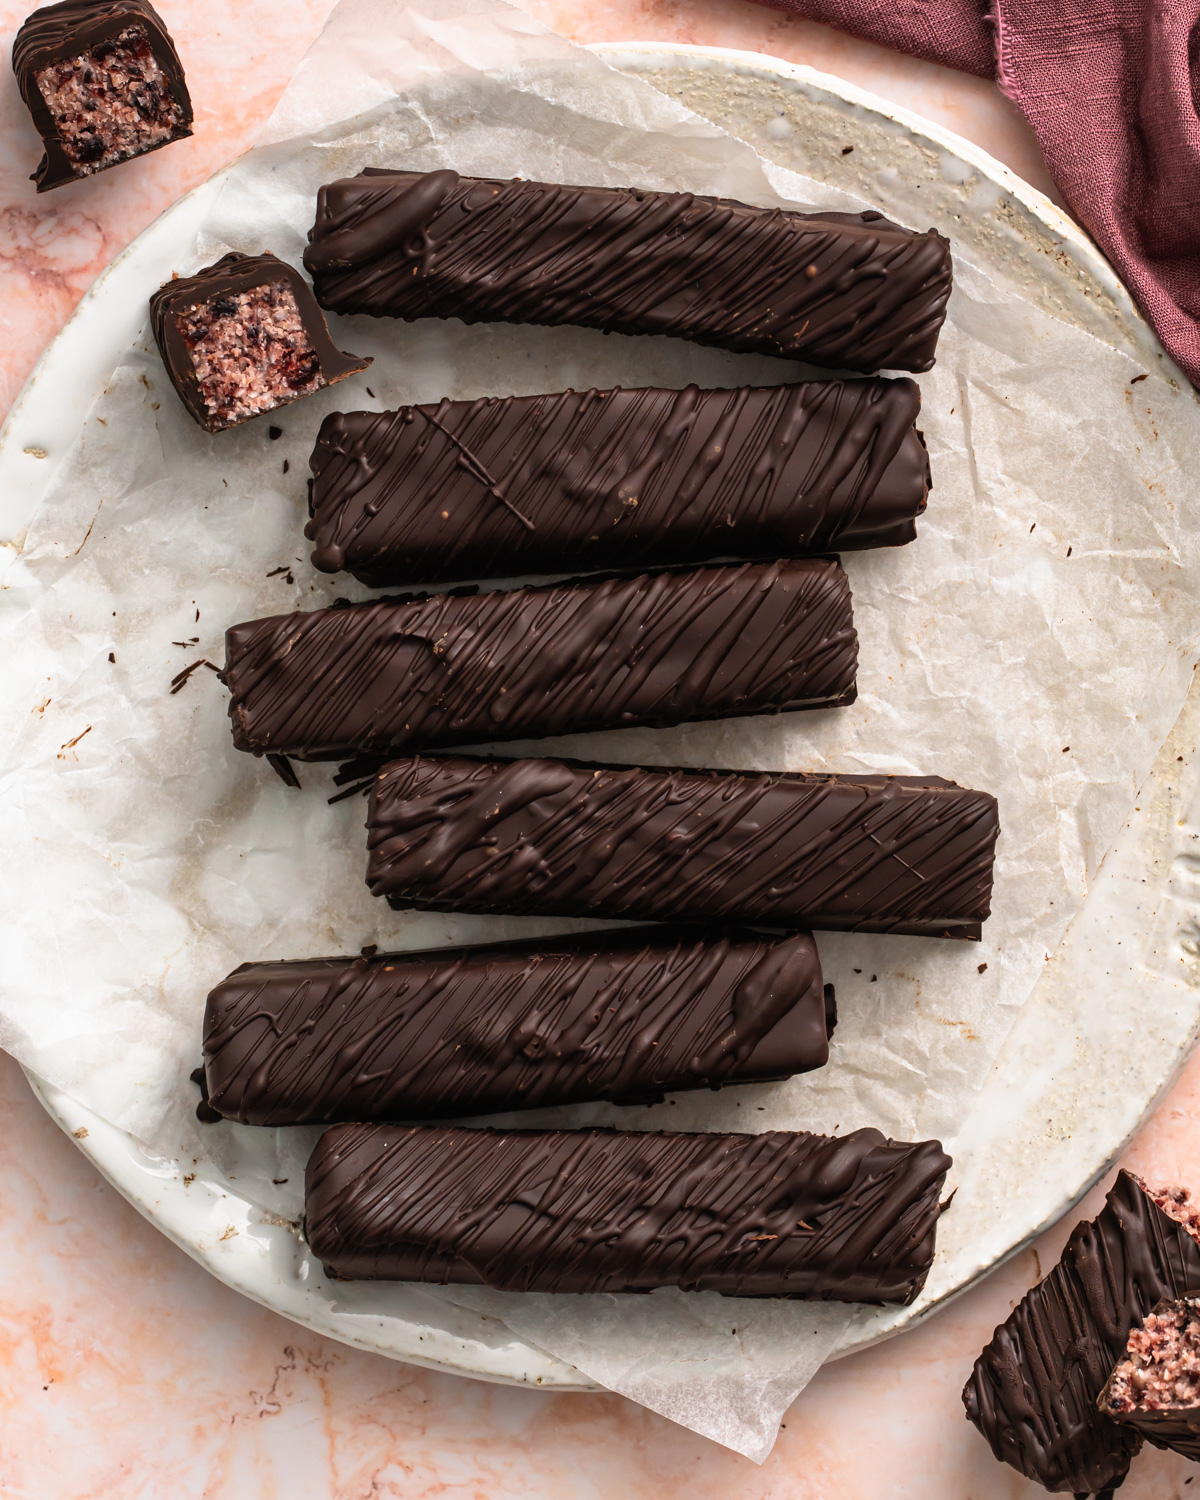
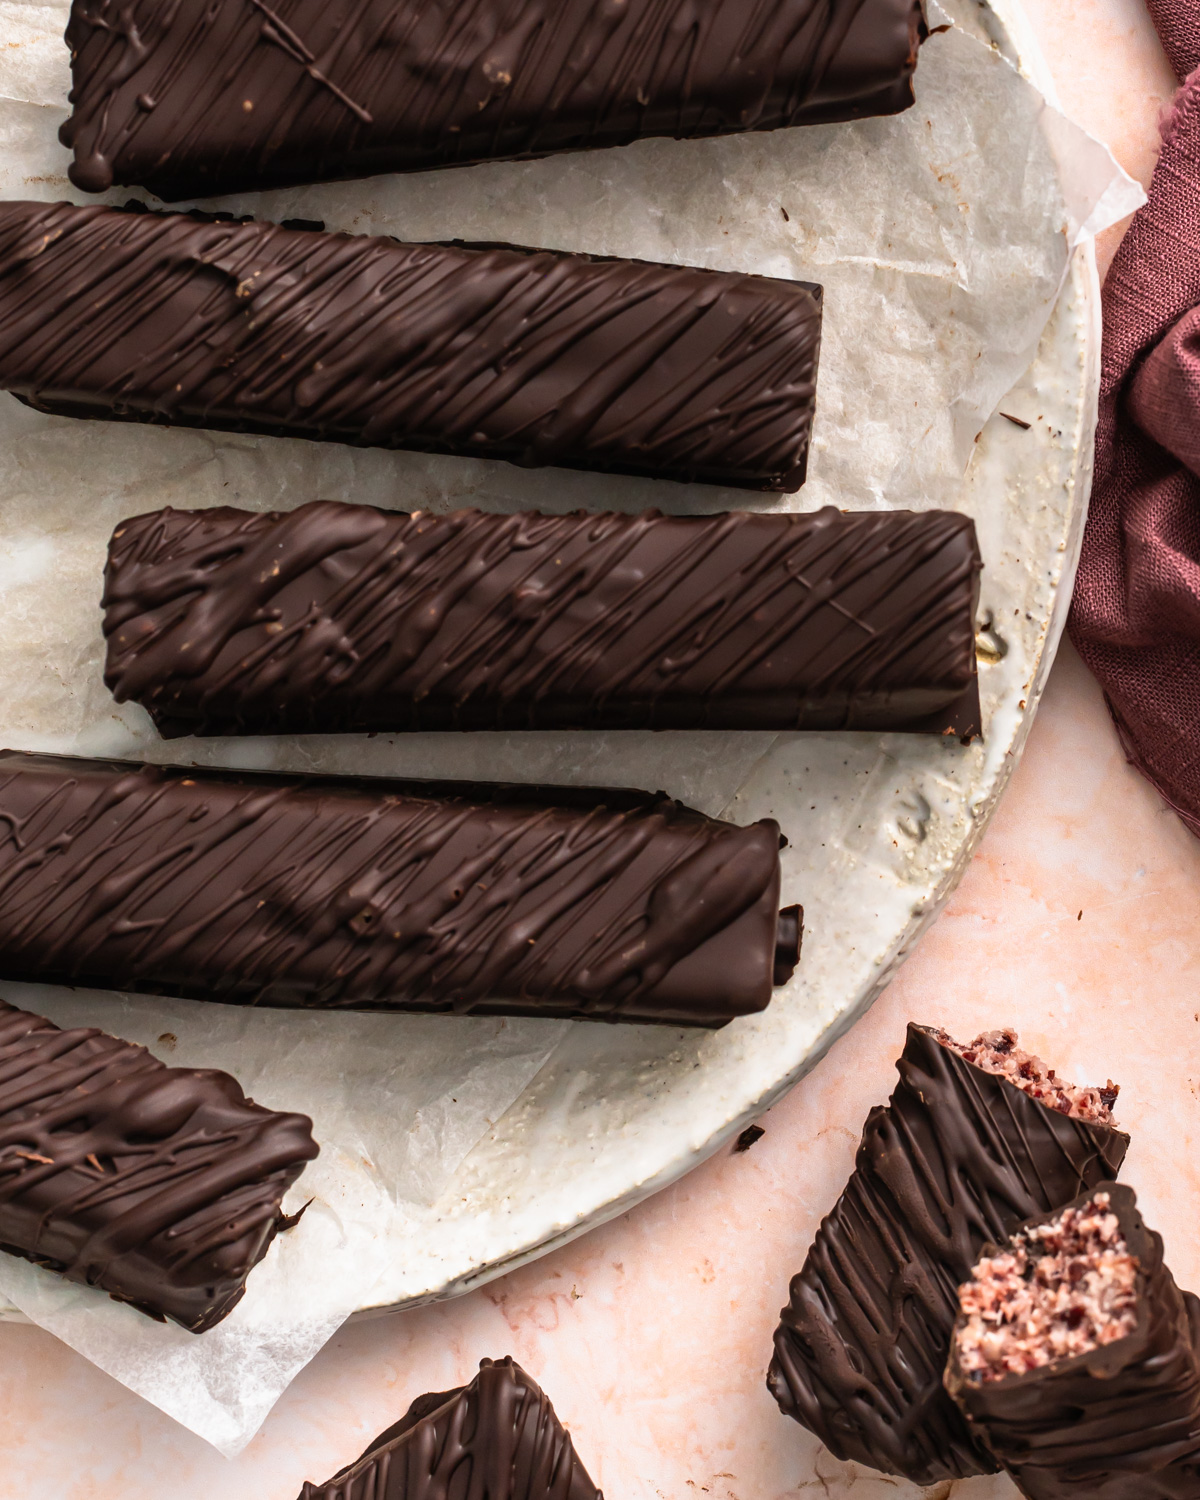
- Place the tray of bounty bars into the fridge to set the chocolate. Once the chocolate is set, remove from the fridge and drizzle the remaining dark chocolate over the bars. This step is optional and purely for decoration. You might need to warm up the chocolate again so that it is runny. If the chocolate is quite thick, you can add a small amount coconut oil to thin it out.
- Return the bars to the fridge to set completely before transferring to an airtight container and storing in the fridge for up to 4 days or in the freezer for up to 3 months.


Like this recipe? Leave a comment!